Wi-Fi Setup (Step-by-step)
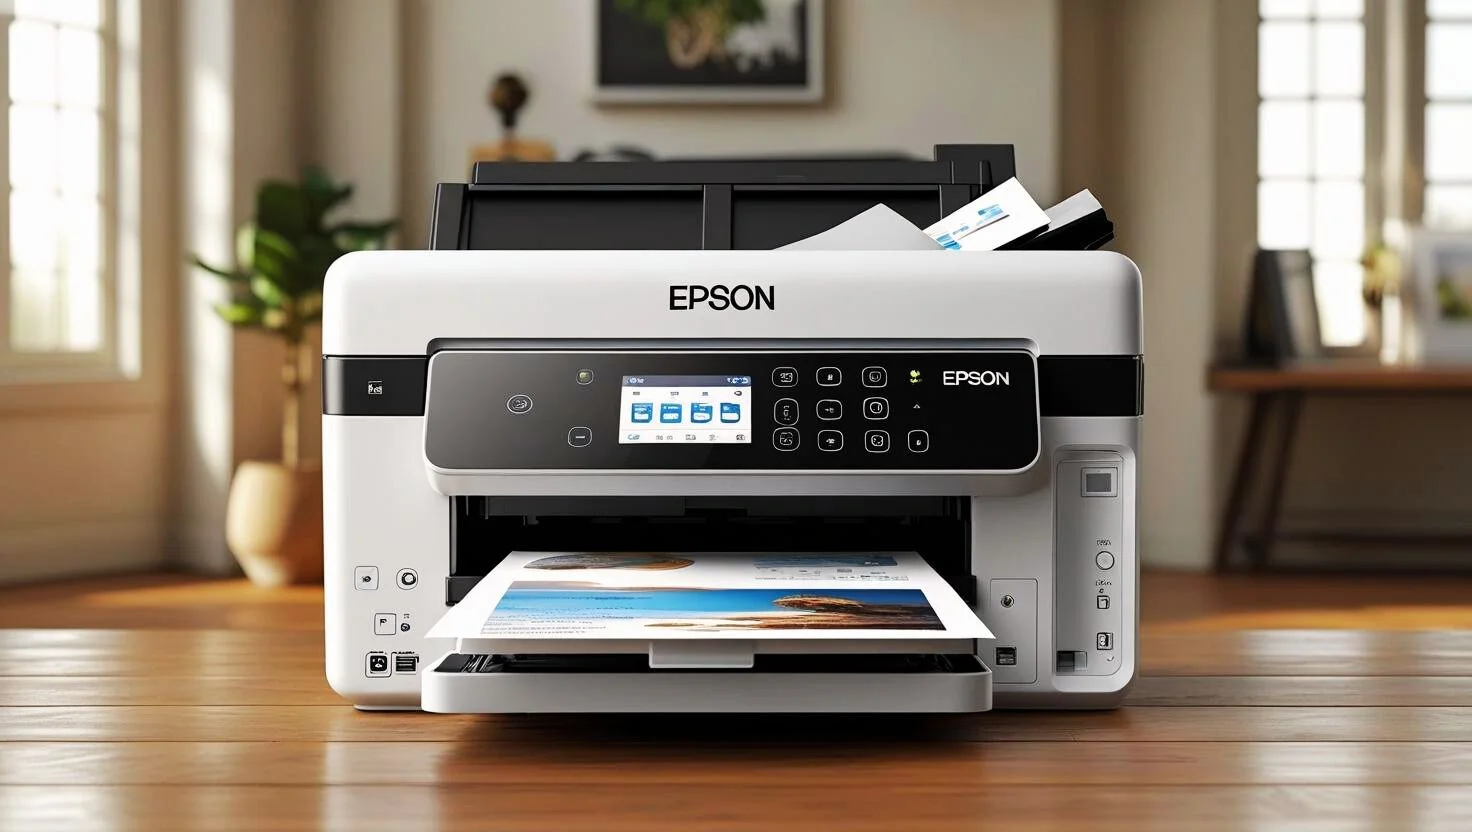
Step 1: Power on
Turn on printer and place near router.
Step 2: Open Network Menu
On the control panel select Network → Wi-Fi Setup.
Step 3: Choose Network
Select your SSID and enter password; use WPS or QR if available.
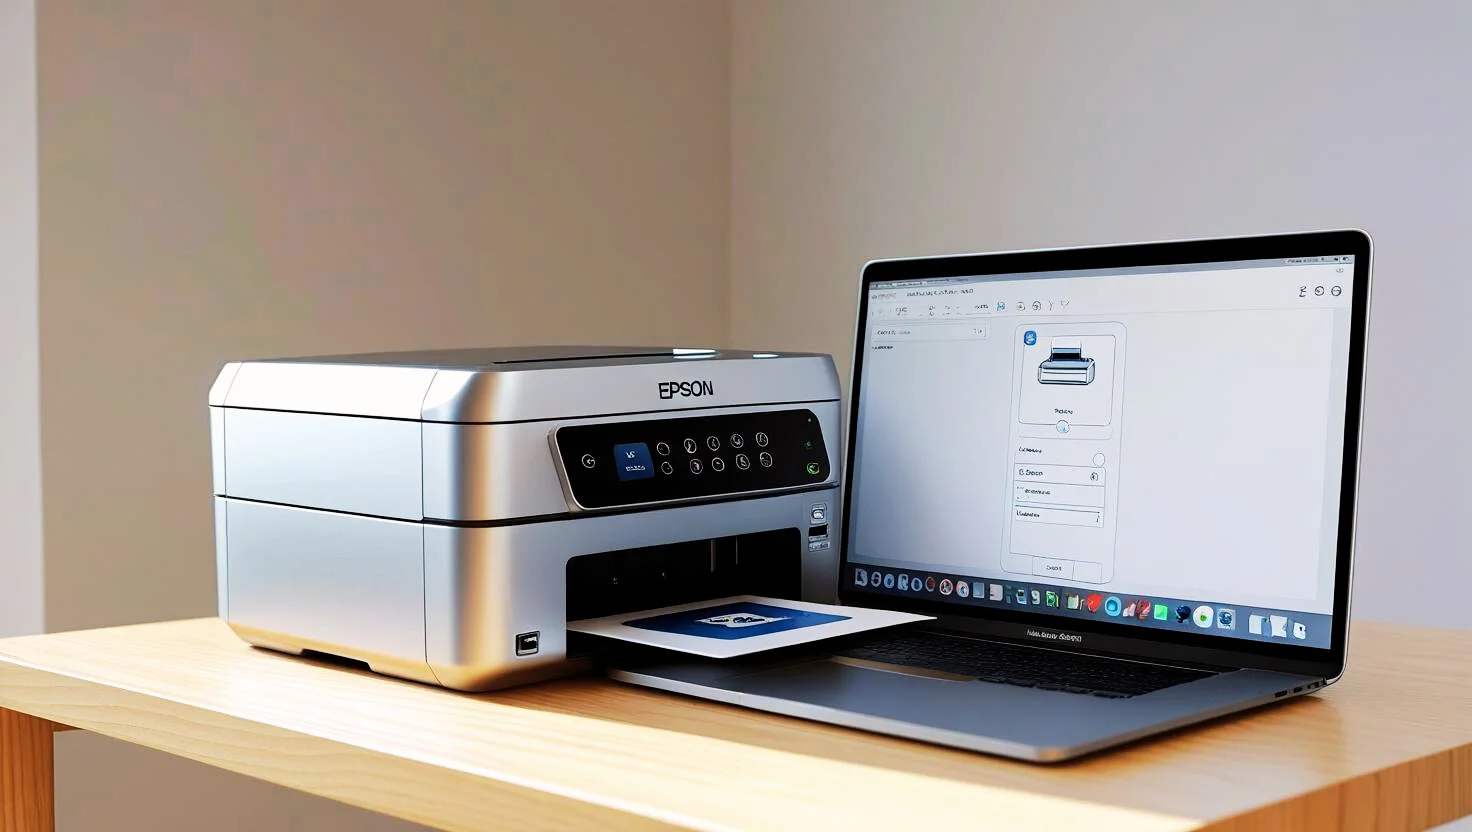
Step 4: Install Drivers
Install drivers on your PC or mobile and add the network printer.
Step 5: Print Test
Print a test page to confirm setup.
USB Setup (Step-by-step)
Step 1: Unbox & Power
Unpack and plug in the printer.
Step 2: Install Ink & Paper
Follow on-screen instructions to install ink and paper.
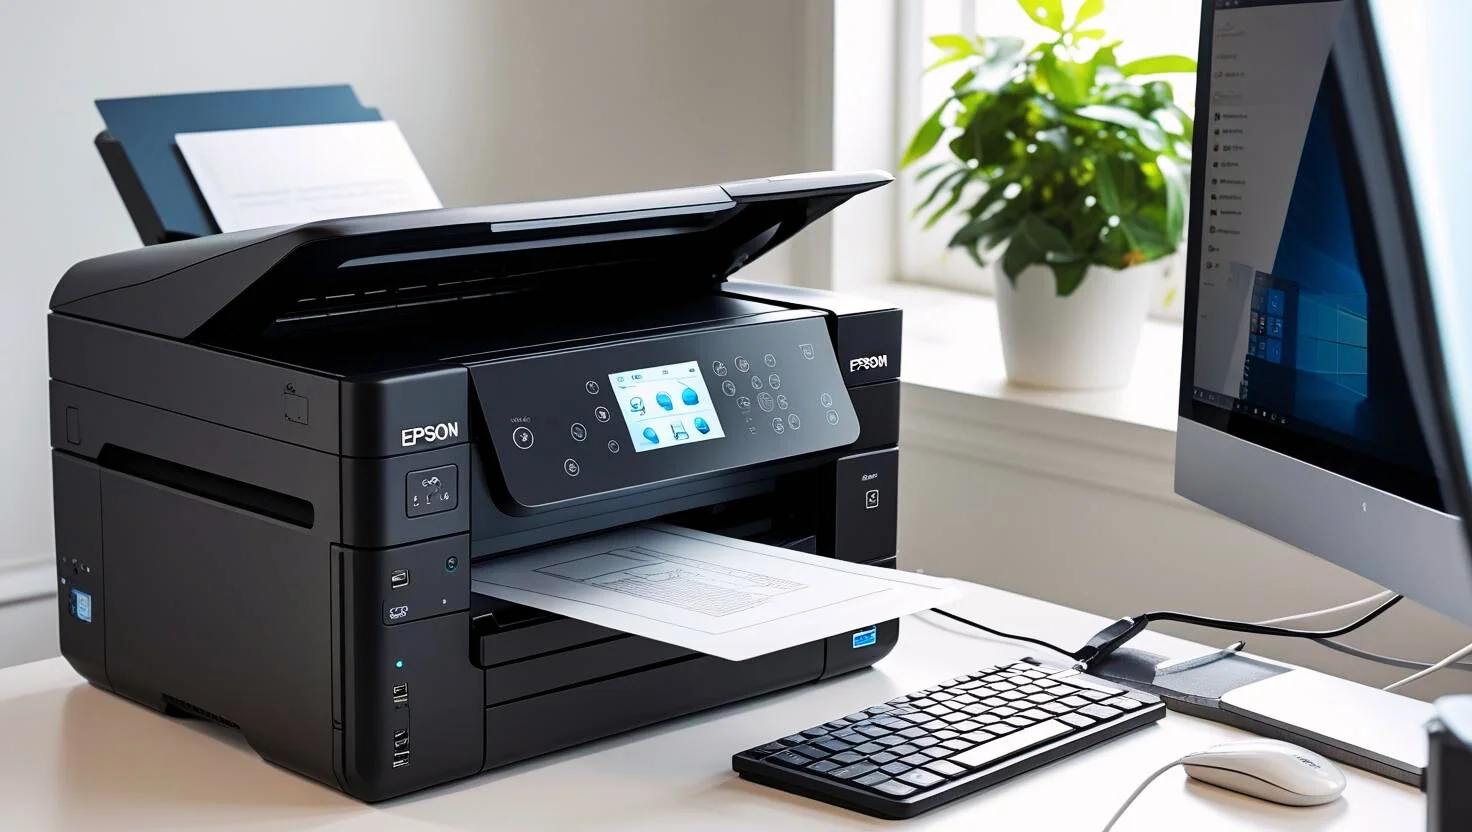
Step 3: Connect USB
Connect the USB cable to your computer (avoid hubs).
Step 4: Install Drivers
Run the driver setup included with your model or use the on-site helper.
Step 5: Print Test
Confirm printing by printing a test page.
Common Troubleshooting
Paper Jam
Turn off printer, open access panels, remove paper gently, restart.
Printer Offline
Check network or cable connections, restart devices and re-add printer.
Ink Not Printing
Run nozzle check and head-cleaning; replace empty/expired cartridges.
Slow Printing
Check print quality settings (draft mode), ensure firmware updated.
Device Error Codes
Refer to your model's manual for specific codes or contact support with model & code.